Hello all,
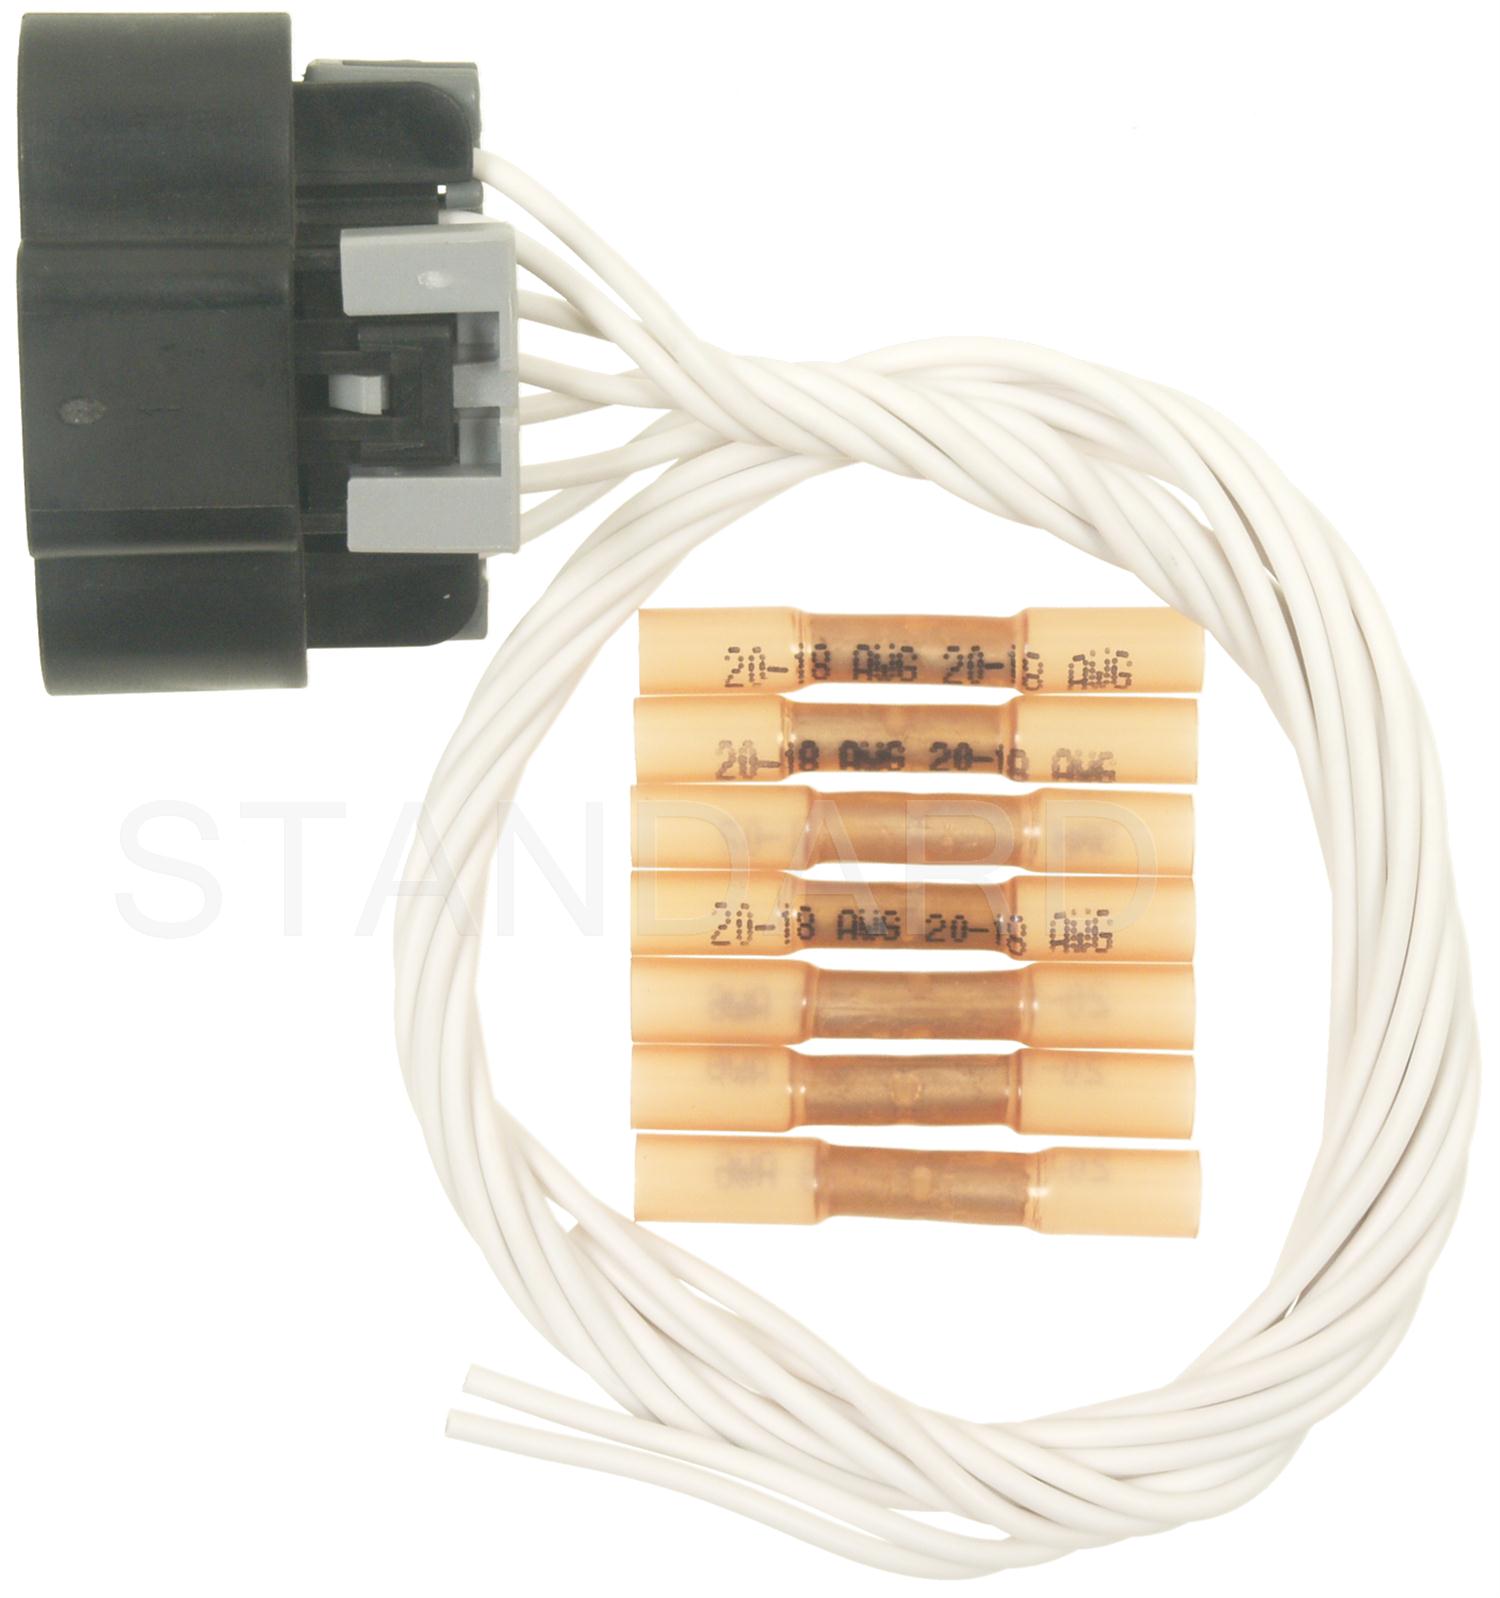
My car started running poorly with the check engine light flashing. The codes P0301 (cylinder 1 misfire), P2301 (Ign. coil A primary control circuit high), P0351 (ign. coil A primary/secondary circuit). I replaced the coil and the spark plugs The car ran perfectly fine for two days and then it happened again, with the same codes. I then exchanged the coil and the car ran fine everyday for about one week and then the same codes again and running poorly, but this time the coil completely burnt out the side smoking pretty good at cylinder one. I'm sure something is causing my coils to short out. I physically hand traced the wires from the ignition coil to the ECM, ground and fuse panel. The wires are in good condition with no breaks, melting or chaffing. I also checked the resistance from end to end unplugged on each of the wires and had low resistance on each one. The pins on both ends of the harness are free of corrosion. The one thing I have noticed is that when the key is on and the engine not running, coils 2, 3, and 4 all have 10mV coming from the ECM, coil number 1 has 58mV. That is with coil disconnected. The power wire is good. The ground is good, and the low reference ground is good. Is this a clear indication that the ECM is to blame for frying the coil? Does anyone know of any other checks I can perform to verify if the ECM is to blame? Has anybody encountered anything similar? Intermittent electrical are issues always difficult. Thank you in advance for any input, advice and wisdom.
Year. 2016 ( Date of manufacture 06/2015)
Engine. 1.4 Turbo EcoTec ( LDV/Tier2)
Miles. 109245
Again Thank you.